虚拟光驱是模拟CD ROM工作的软件,可以实现安装系统安装,下面小编就给您带来win7深度技术纯净版系统怎么安装的教程。
1、深度技术ghost win7 用虚拟光驱怎么安装呢?首先我们要在电脑上安装虚拟光驱。双击安装文件,如图1所示
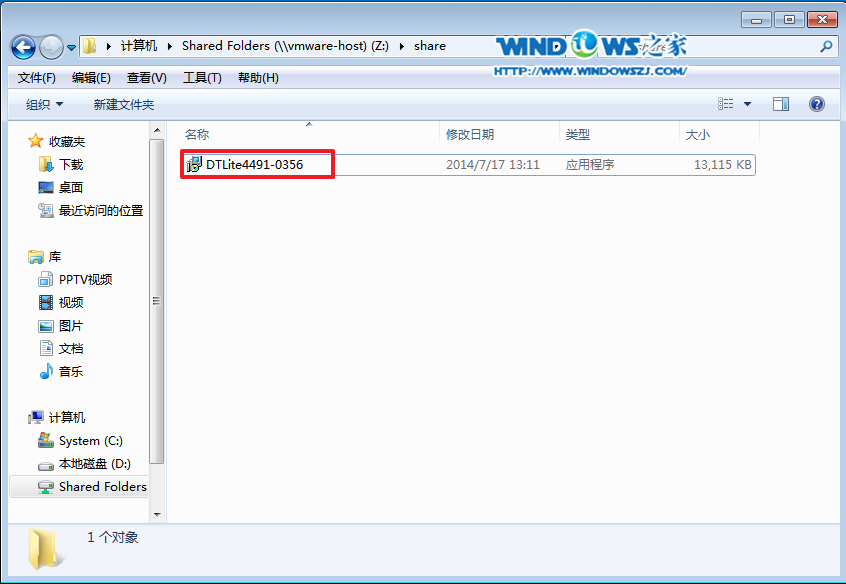
图1
2、语言选择“简体中文”,点击“下一步”,如图2所示
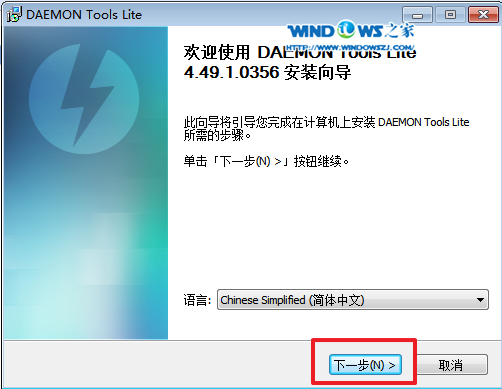
图2
3、选择“我同意”。如图3所示
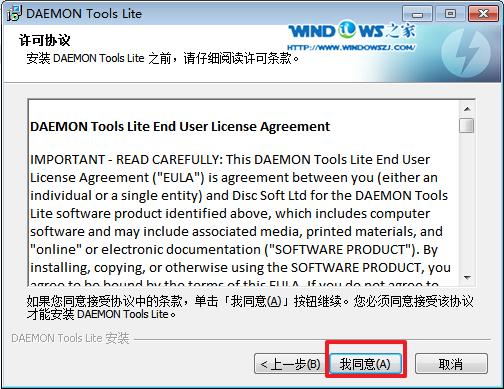
图3
4、选择“免费许可”,点击“下一步”,如图4所示
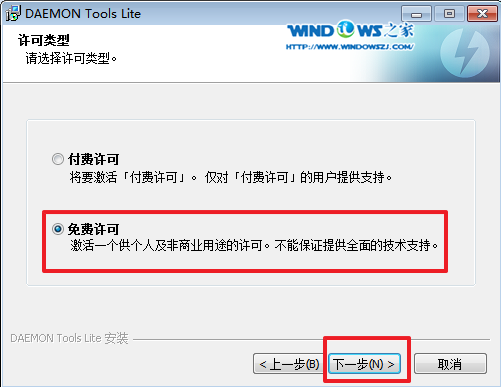
图4
5、选择组件。按自己喜欢的选择。点击“下一步”,如图5所示
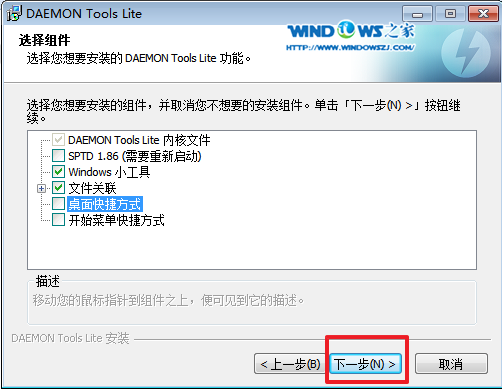
图5
6、选择安装位置,选择浏览,目标文件夹的位置,选择“下一步”(不要安装在C盘),如图6所示
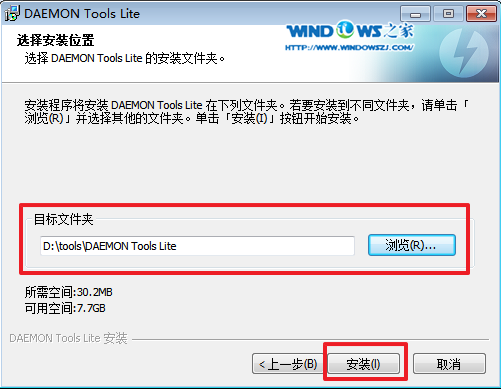
图6
7、安装成功后,会在桌面上看到“DTLite”这个图标,之后双击这个图标。如图7所示
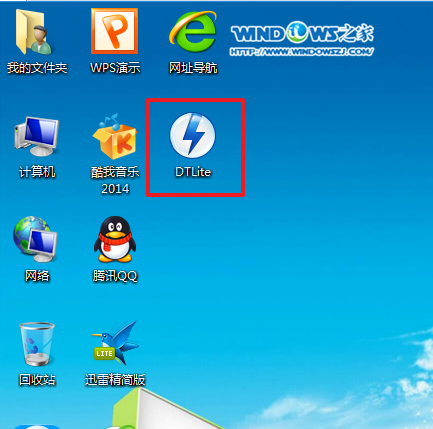
图7
8、选择添加,如图8所示
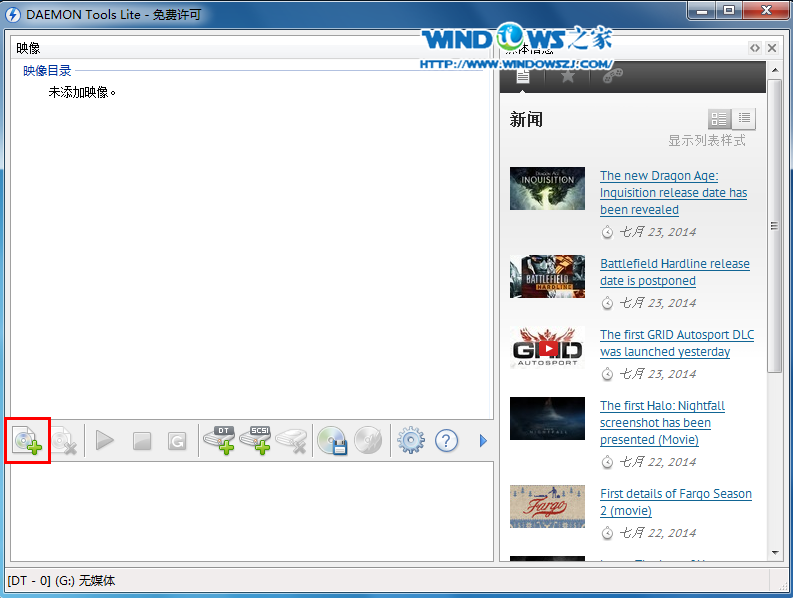
图8
9、选择系统的镜像文件(就是你要装的系统),如图9所示
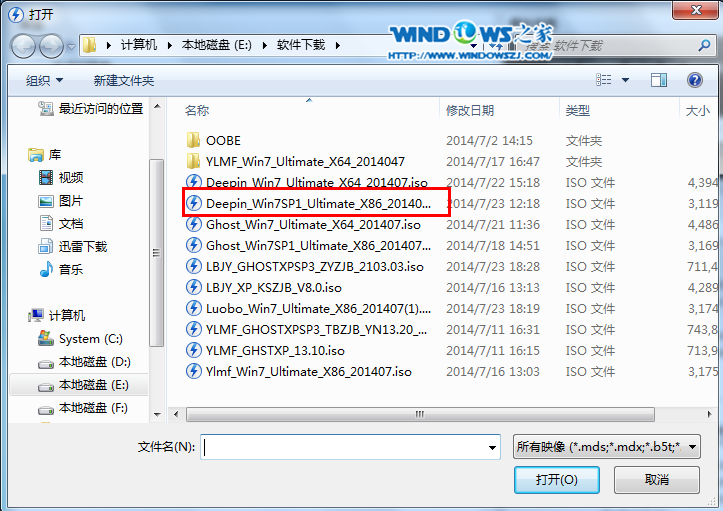
图9
10、在映像目录中,先点击映像文件,再点击“DT添加”,就会出现光驱,如图10所示
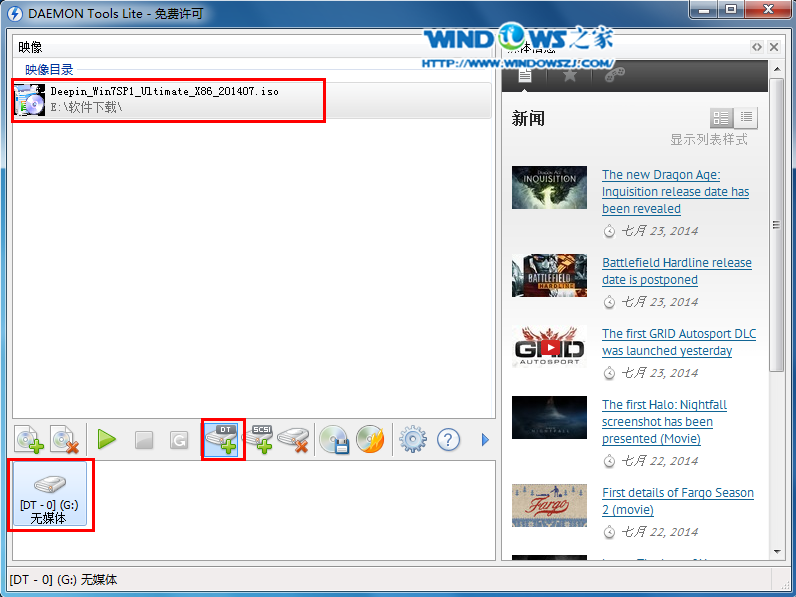
图10
11、选择“镜像文件”,再点击“载入”,如图11所示
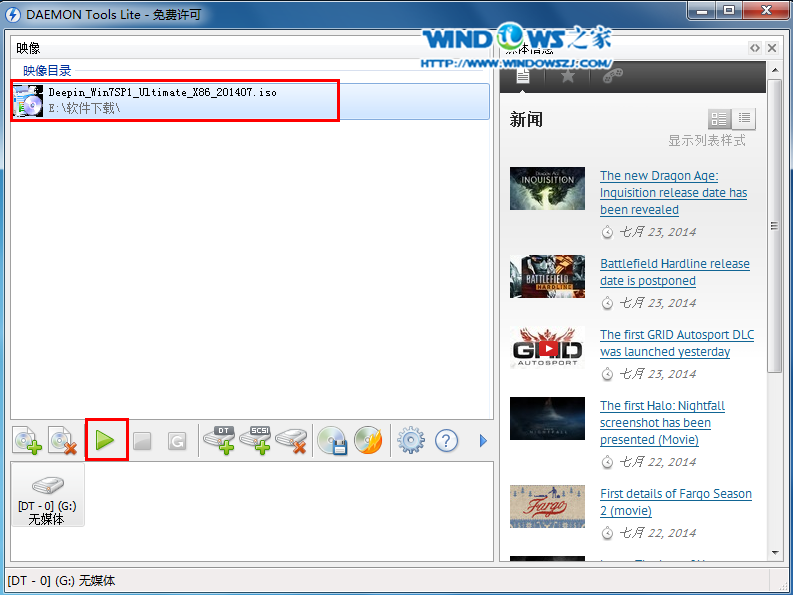
图11
12、之后你就发现,刚刚的“[DT-1](F:)无媒体”,变成了光驱,如图12所示,之后点击“setup.exe”。
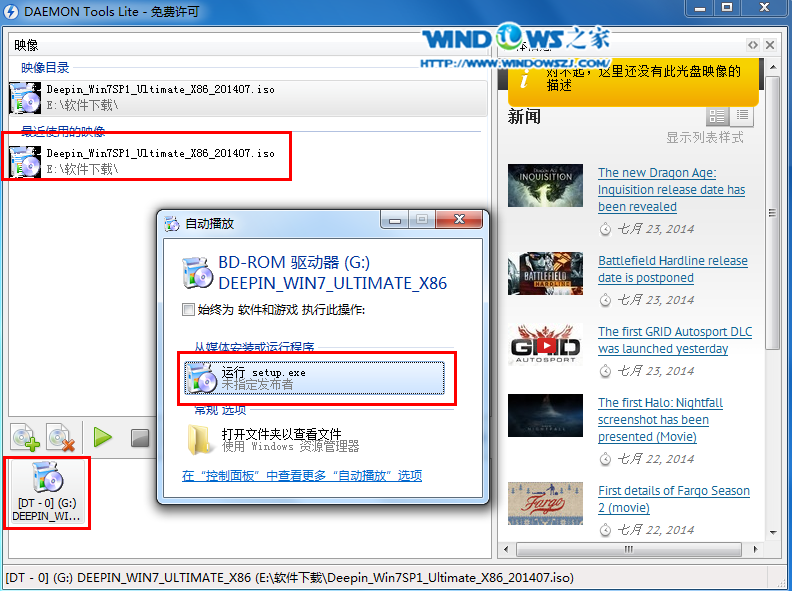
图12
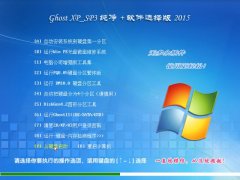
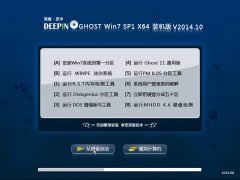
13、单击后,就会弹出“雨林木风Ghost_WIN7_64位_2014期间装机版”,选择“安装WIN7X86系统第一硬盘分区”。如图13所示
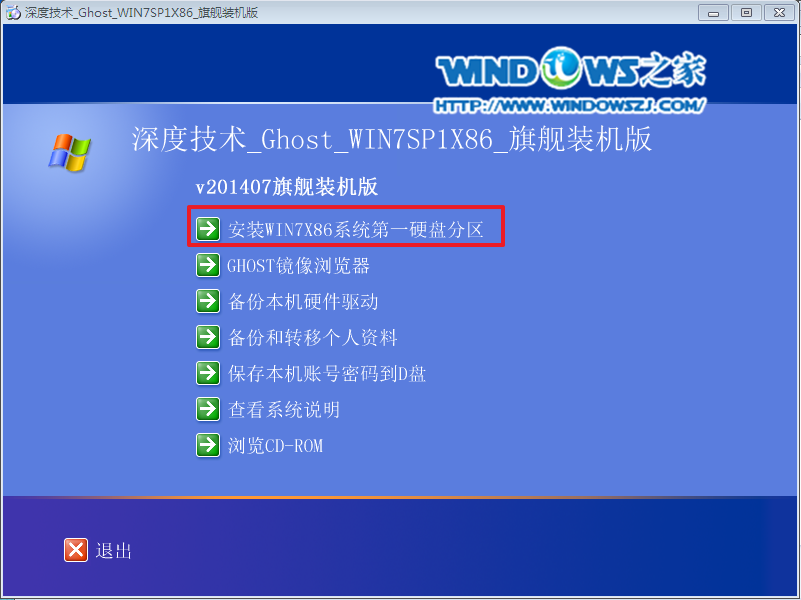
图13
14、点击“安装”,选择映像路径,选择C盘,最后按“确定”。如图14所示
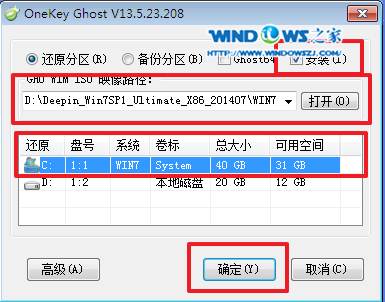
图14
15、选择“是”,立即重启。如图15所示
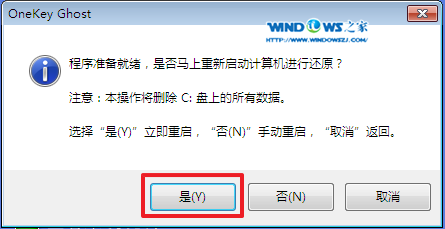
图15
16、之后不需要自己再动手了,它会自动安装。以下是关键的截图,参考一下,如图16、图17、图18所示
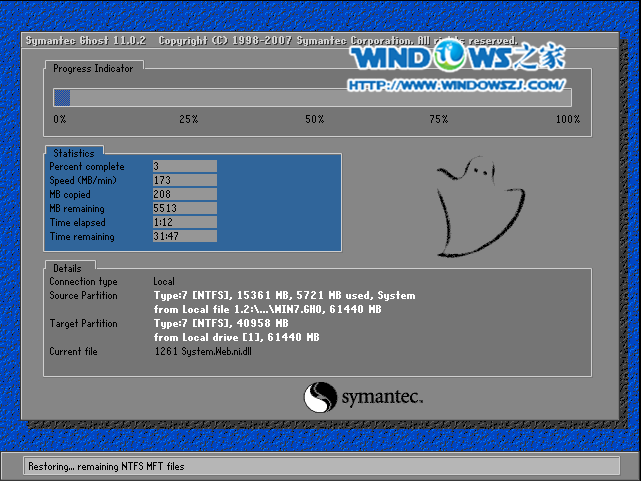
图16
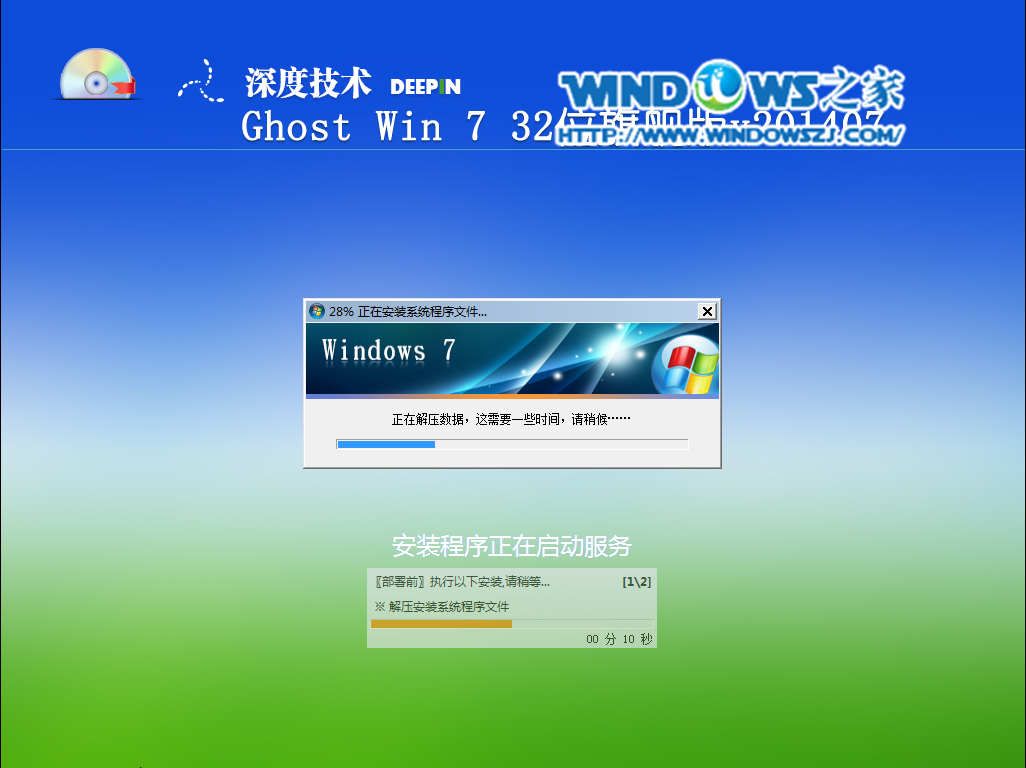
图17
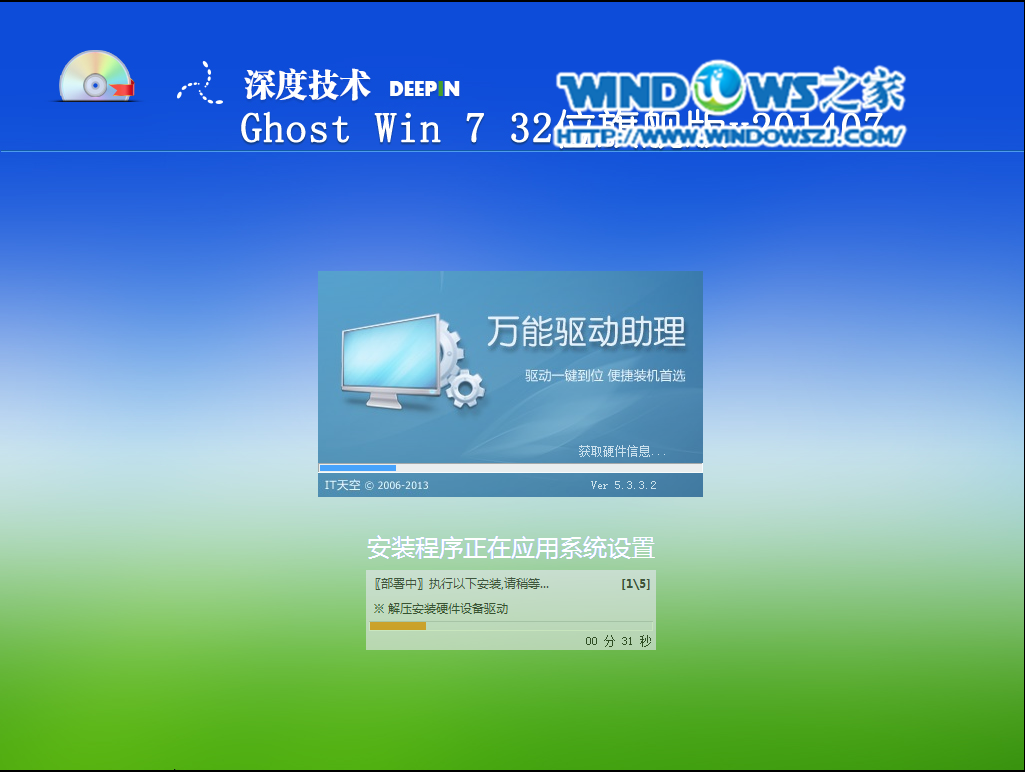
图18
17、重启后系统就安装好了,如图19所示
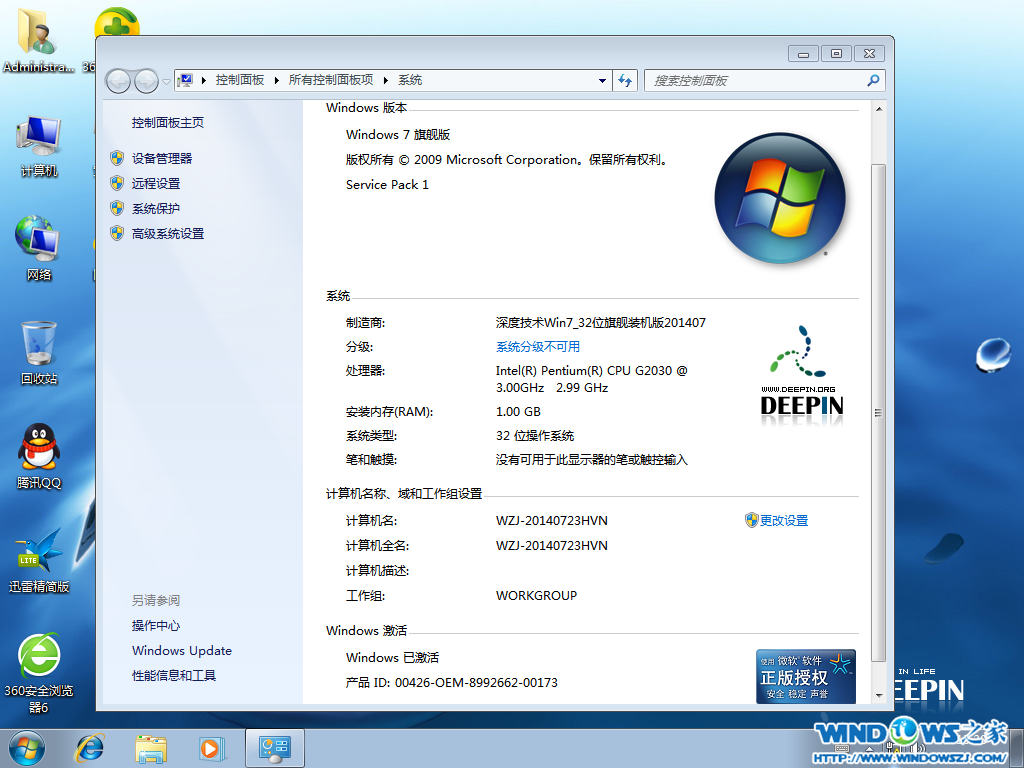
图19
深度技术的ghost win7旗舰版32位如何安装教程到此结束,更多敬请关注。
- 深度技术win7 64位纯净版
- 深度技术Win7 64位办公纯净版系统v201912
- 深度技术win7 ghost纯净版64位系统V2020.02
- 深度技术win7 32位纯净版
- 深度技术win7系统pe纯净版32位下载V2020
- 深度技术 win7 纯净ghost系统 64位下载 V2020.05
- 深度技术xp纯净版
- 深度技术 Ghost XP SP3 极速纯净版 纯净版XP系统下载
- 深度完美 Ghost XP SP3 极速纯净版 深度完美纯净版XP系统